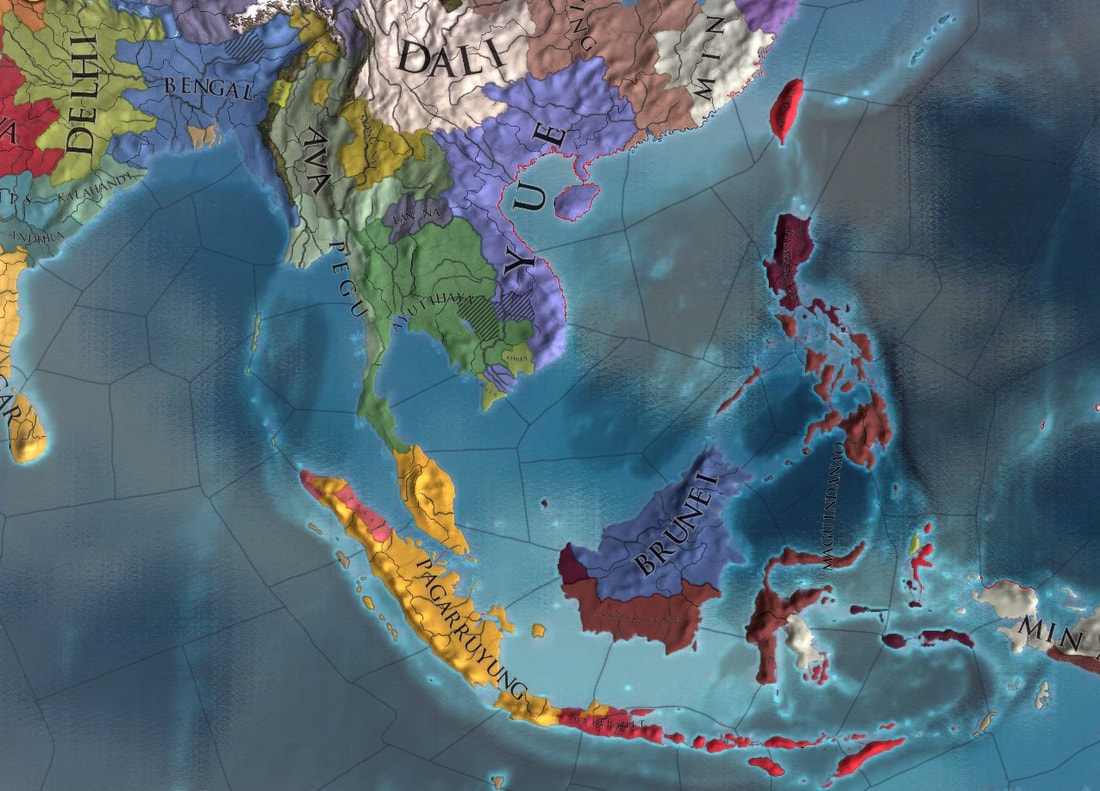
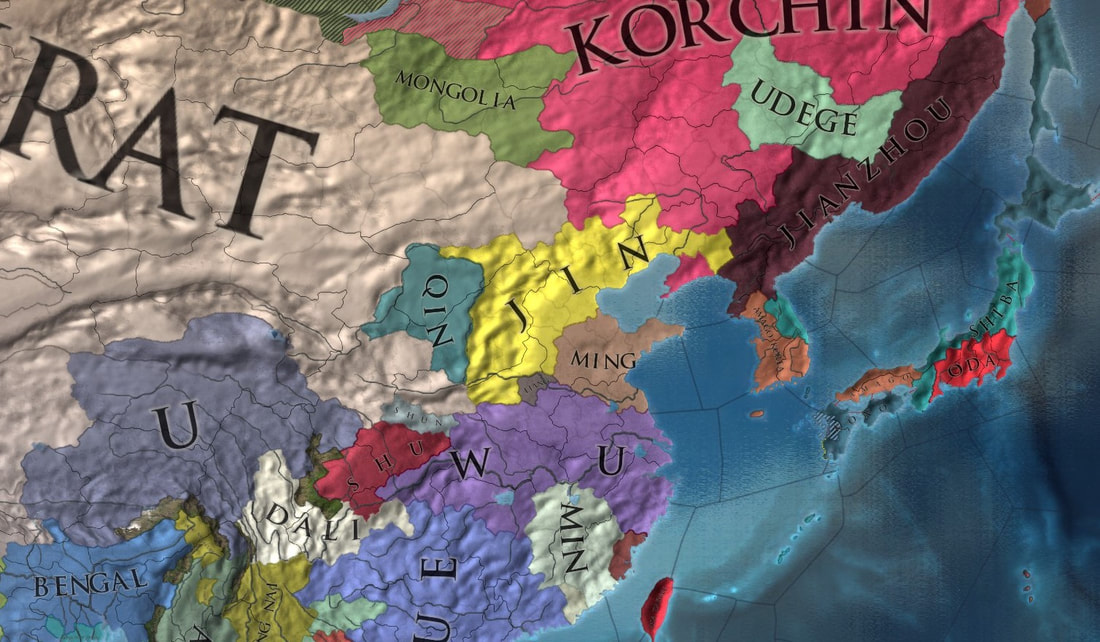
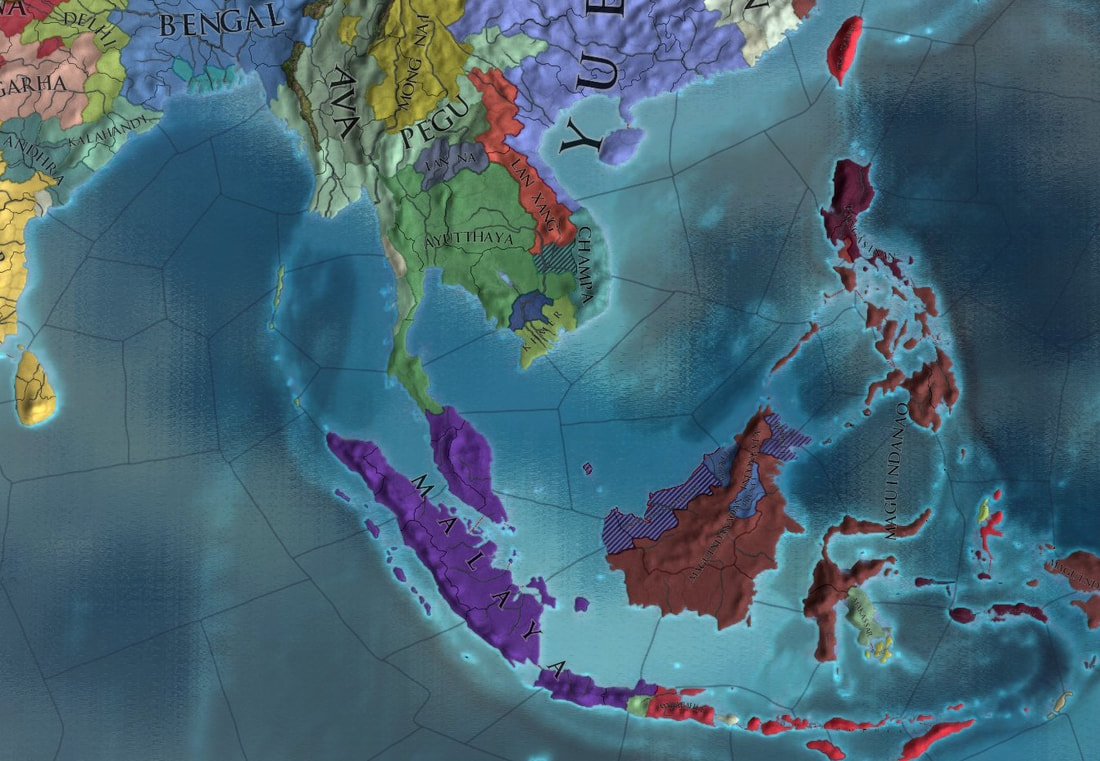
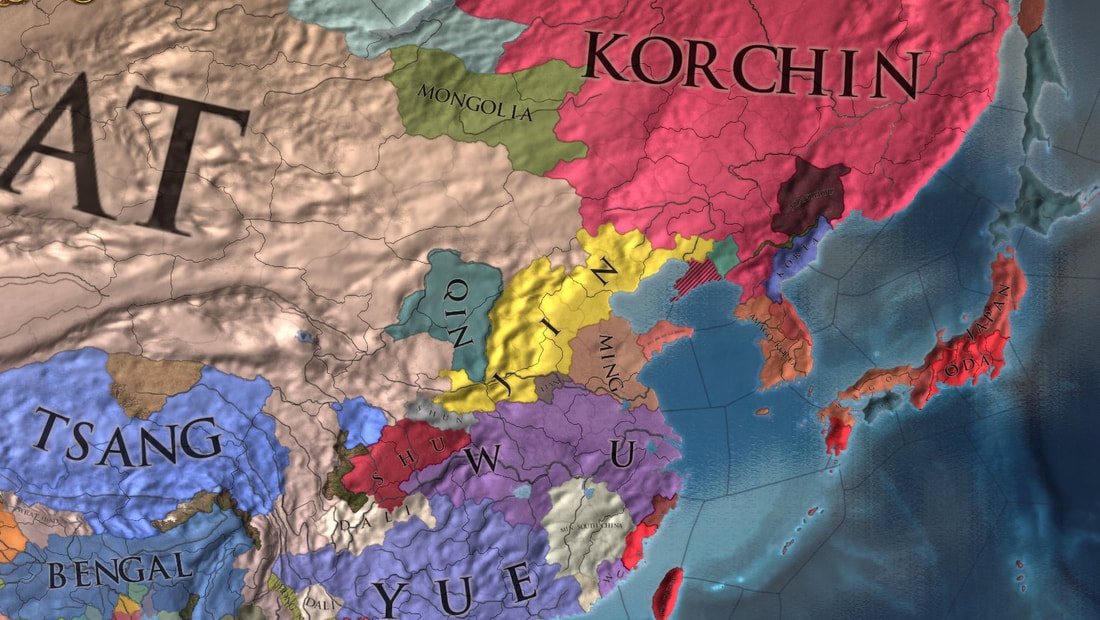
Final Rankings - Prestige
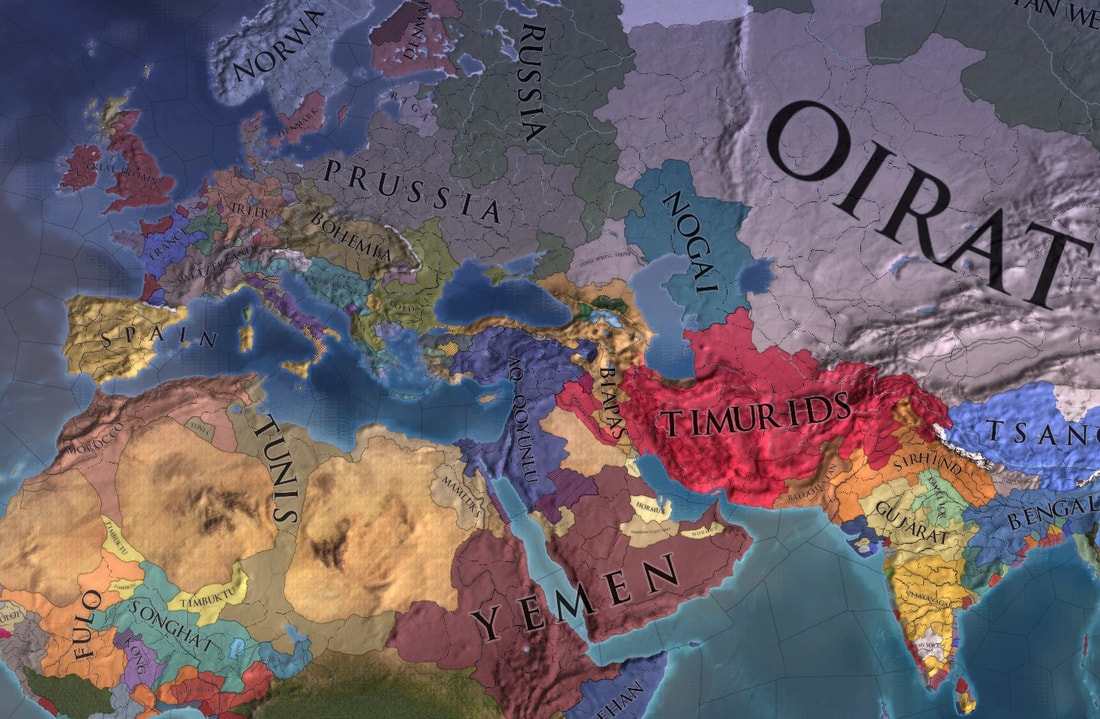
Lookatall/Blake - Empire of the Oirat - 20 "Khagan"
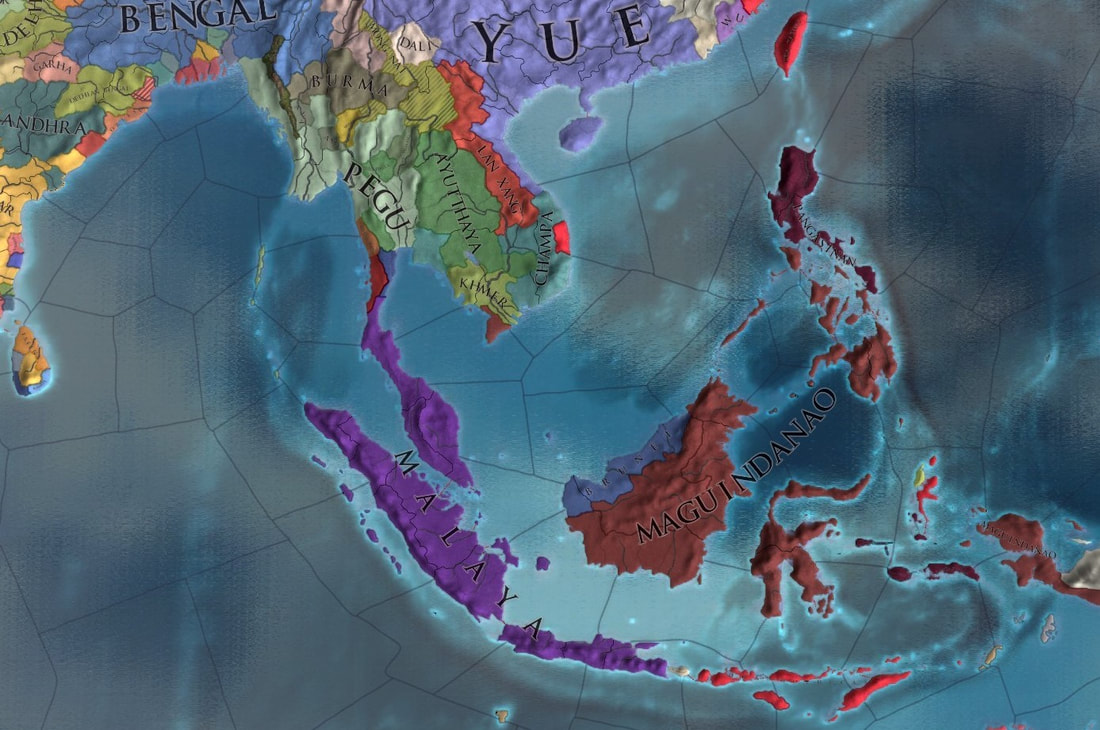
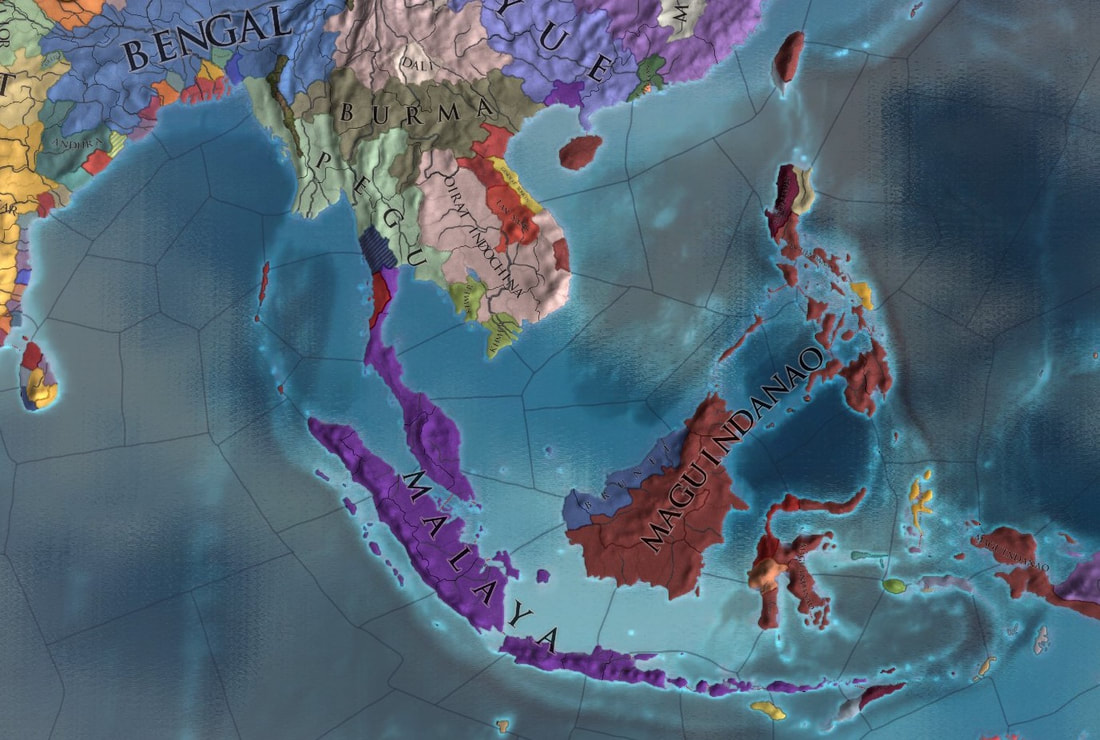
MoneyMaker/Braxton - Confederacy of Maguindanao - 14 "Sealord"
Mr. Scruff/Brad - Princedom of the Ming - 13 "Shield of the Middle Kingdom"
Blyatt/Wyatt - Empire of Japan - 12 "Sword of the Chrysanthemum Throne"
Oriemaster/Wyatt - F. Republic of the Wu - 11
Alec -Kingdom of Pegu - 10
Iron/Brian - Kingdom of the Korchin - 9
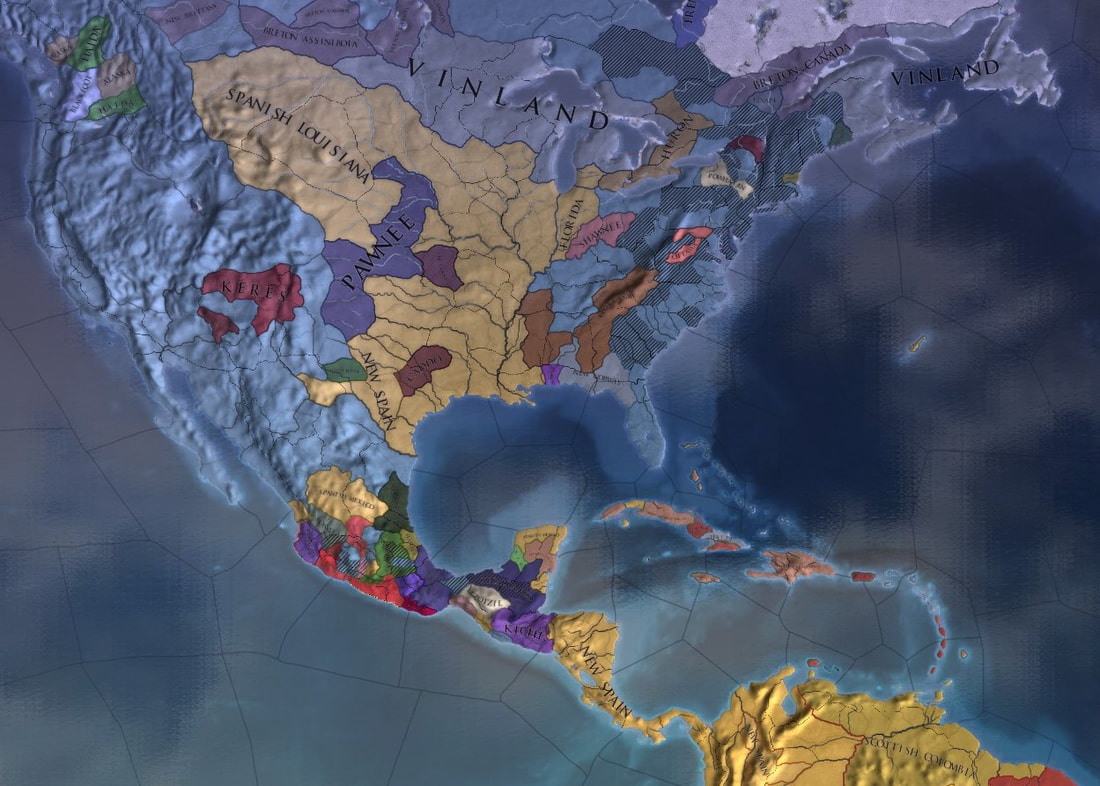
AGenuineHuman - Federal Republic of the United States - 8
Cap. Dickers/Josh - Grand Daimyo of the Amago - 7
A Dirty Morded/Brian - Kingdom of Malaya - 6
iNomad - G. Princedom of the Yue - 5
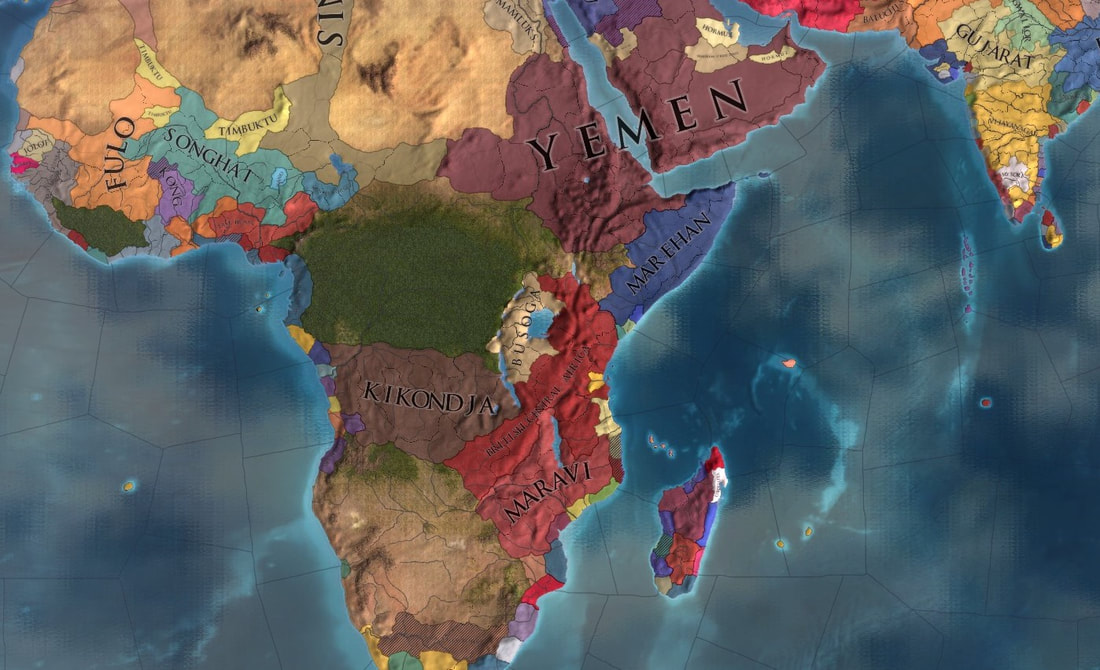
Biggusdickus/William - Emirate of Songhai - 4
Parafrost - Princedom of the Jin - 3
MissingNo/Weston - Grand Daimyo of the Oda - 1
Jeudy/Jordan - Grand Barangay of Pangasinan - 1
Pixel - Princedom of the Min - X
Jack - Republic of Mongolia - X
the Mandate of Heaven ii - Starting Conditions
Scoring Rules
Scoring - Victory Cards and Tier Objectives
In-game points will be ignored for this campaign. Instead, players may accumulate points as described below.
Ages and Scoring - Most scoring is counted at the end of each Age, giving four opportunities for players to gain most of their score. Achieving these objectives is only counted at the end of the age, and will not count for any score if lost the day before the Age ends. Unless otherwise stated, such as with Victory Cards, these scores are multiplied by the number of the Age, meaning objectives become much more valuable over time. Score can also be gained in some ways that are immediate and any immediate score will generally be multiplied by the number of the Age it takes place during (Discovery - x1, Reformation - x2, Absolutism - x3, Revolution - x4).
Advice: Treachery works best when executed close to the end of an Age, giving others little chance to retaliate before score is counted, but it can also be difficult to quickly pry away an objective from another player. Generally it is more reliable to obtain objectives as early as possible and defend them, rather than steal them. On the other hand, securing objectives early and aggressively can set the field against you in the campaign's early diplomacy. Waiting until the late game to make decisive moves can pay off, as the Age multiplier can quickly catapult a player into the lead as long as previous leaders are deprived of their own sources of score.
Tiers - This campaign will have only 1 Tier, but players are in groups with some unique scoring rules.
In order to allow players some choice in competitiveness and difficulty, the nations are placed in tiers that share most of their scoring objectives. A player cannot gain score from objectives from other tiers than their own. Players in Tier 1 will always place before players in Tier 2 in final rankings for the purpose of prestige and future nation selection, no matter the score. In other words, the highest score in Tier 2 will rank directly behind the lowest score in Tier 1 as long as the player finishes the game. This is to ensure that players who wish to challenge themselves with difficult starts and competitive opponents are not unduly punished for a tough campaign. The winner (highest score) from each tier, however, will win +5 to their Gametactica prestige and a Paradox DLC of their choice.
Advice: Allies from other tiers will likely be more reliable than allies from your own tier, since you should not need to directly compete over objectives or ranking. However, allies from other tiers are also less likely to be focused on similar goals.
Victory Cards - The arbitrary demands of your people. Victory cards will only be scored at the end of each age. At the end of each age, players will gain an amount of points equal to the potential in-game value of each victory card owned (1000, 2000, 3000, or 4000) and half this value will be subtracted from any other players that once held the province (this will be determined by the in-game related malus, and can affect players outside of your tier). As usual for ownership related objectives, occupation will be ignored for this determination. Note that subjects cannot capture Victory Cards for their overlords. Victory Card score values are already scaled and are not multiplied by the Age.
Advice: Victory Cards will normally appear on nations of similar strength that you share a border with, and will prioritize nations that you have an alliance with first and a rivalry with second. Be wary of having allies that you share borders with, or you will be forced to turn on them or ignore a large scoring opportunity. Since Victory Cards also impose a negative score on those they are taken from, all players are advised to help other players take Victory Cards on the lands of the leading scorers even if they do not benefit directly.
Tier 1 Objectives - The Mandate of Heaven
Victory Cards - All players
As detailed above
Scoring Provinces - All players
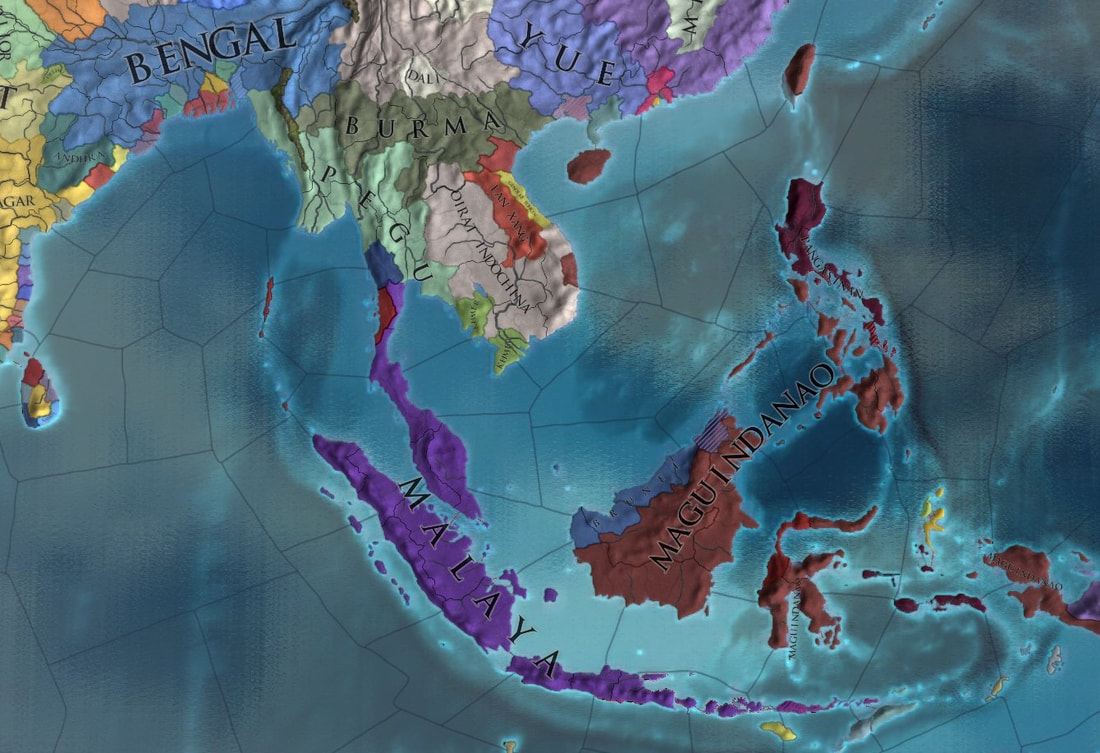
All players can gain score by controlling the Centers of Trade in the Far East. Every scoring Center of Trade owned will be worth 500 points. Non-tributary AI Subjects give all points from Scoring Provinces to their overlord. Players who are vassals, marches, or tributaries must give half their points earned to their Overlord. If their Overlord is an AI, than the points are lost. Subjects at war with their (former) Overlords are still considered Subjects for this rule if they were Subjects at the start of the war.
A scoring Center of Trade meets the following criteria:
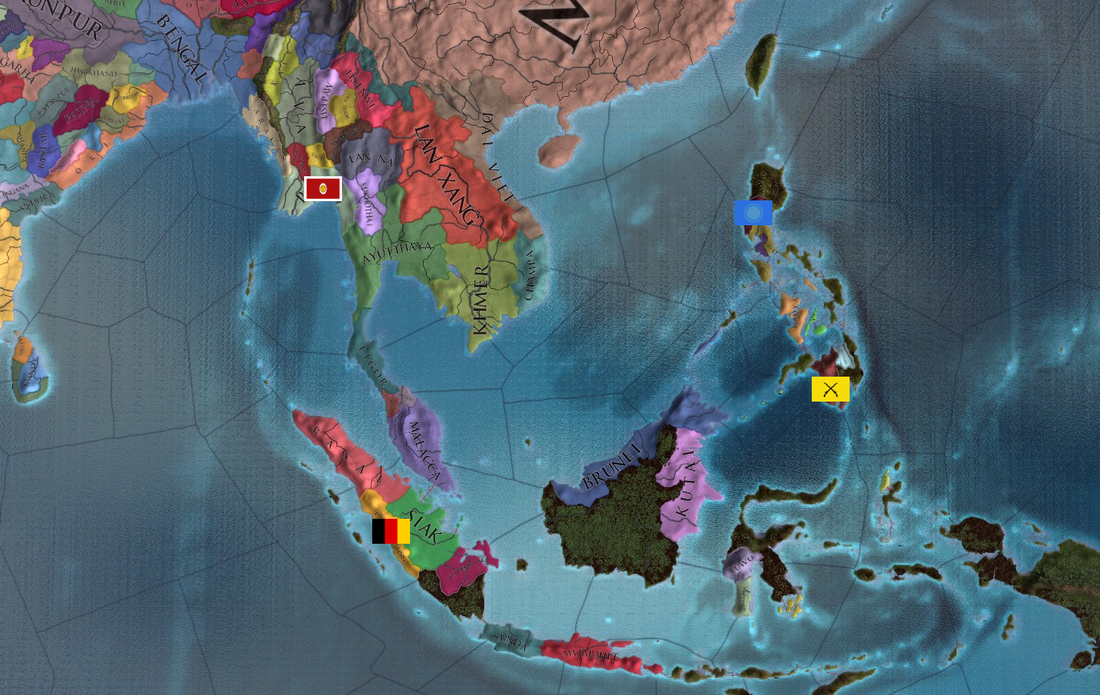
- Is not located in any player's Protected Area
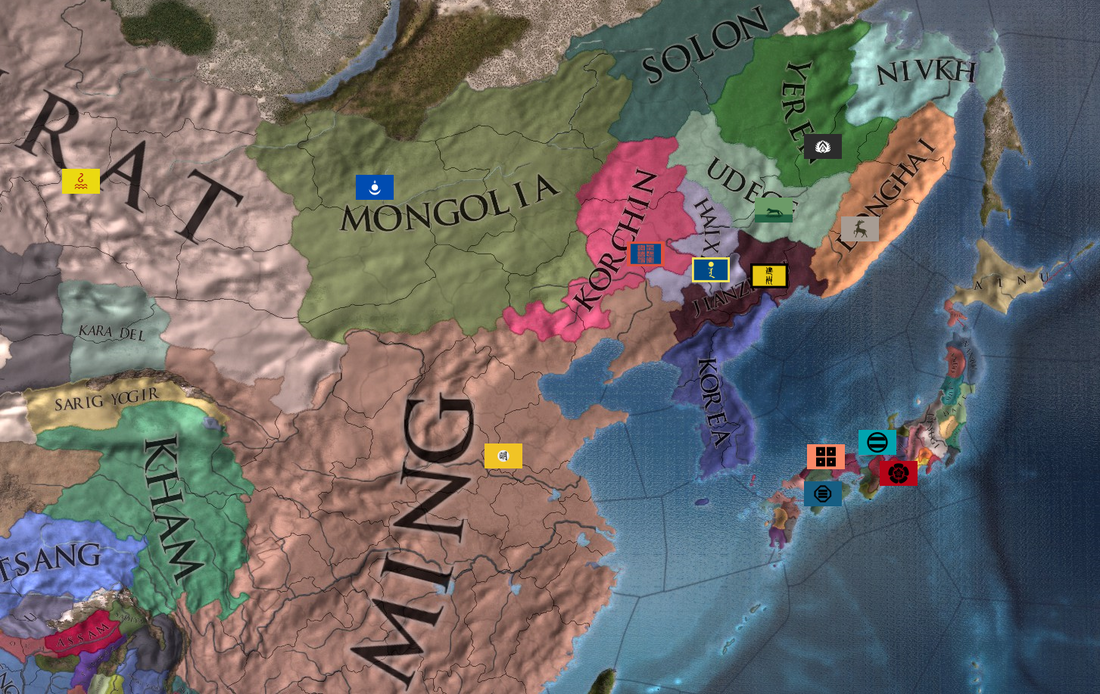
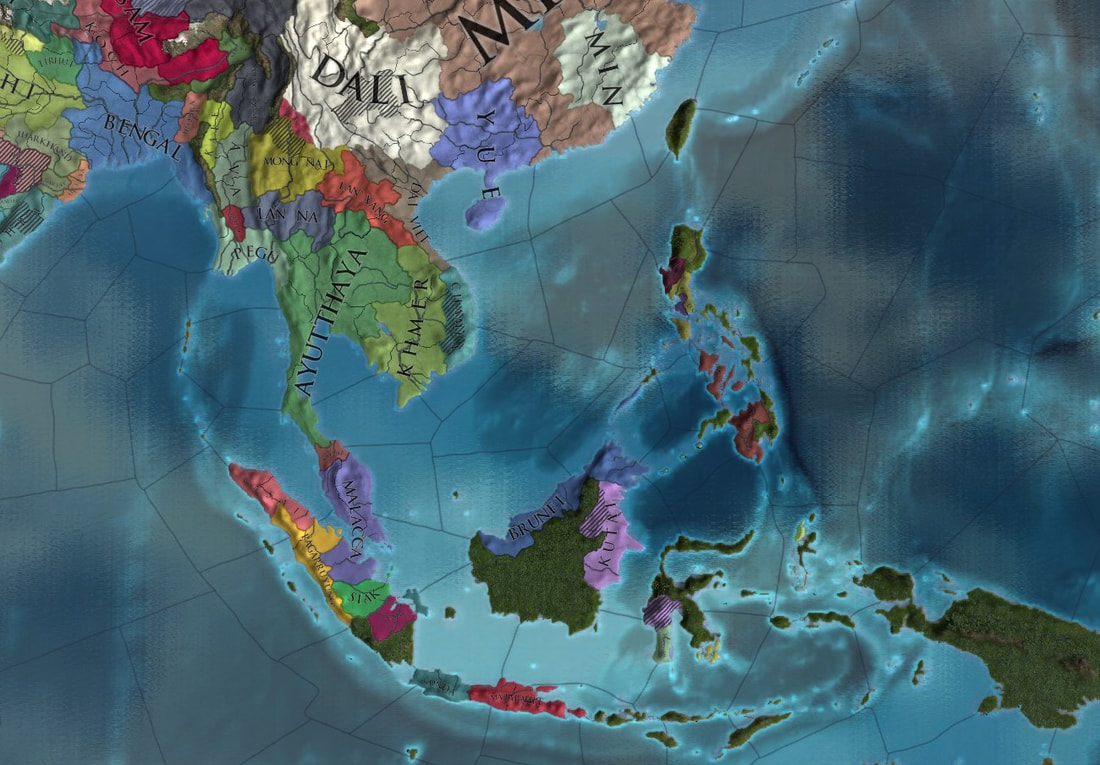
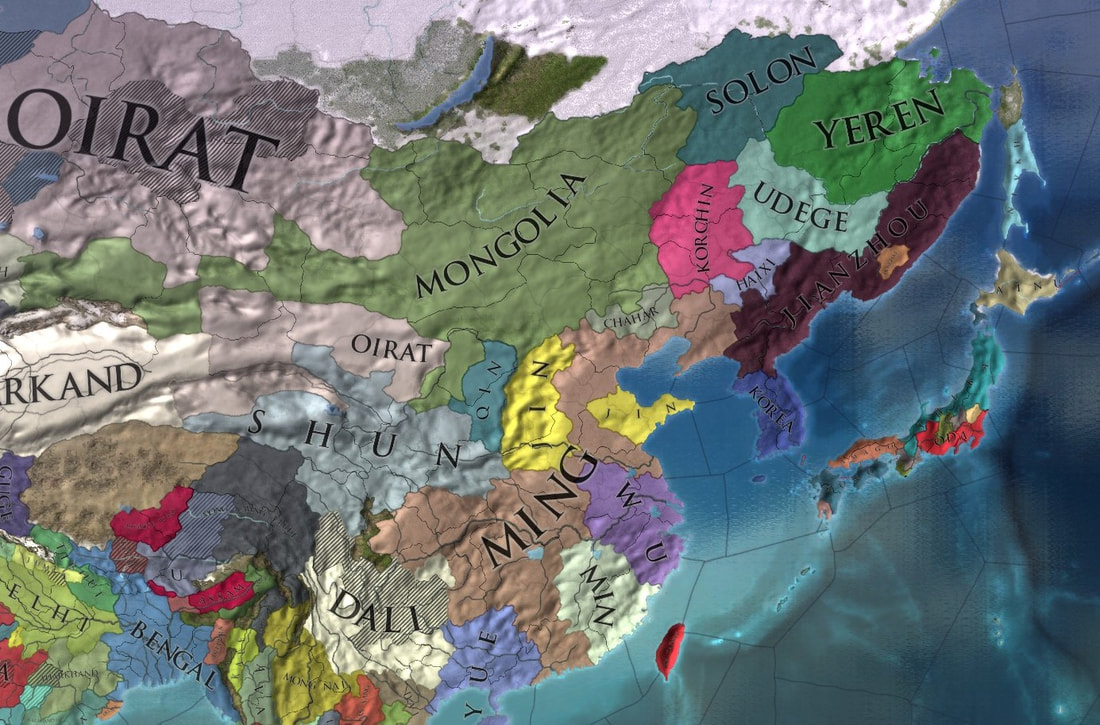
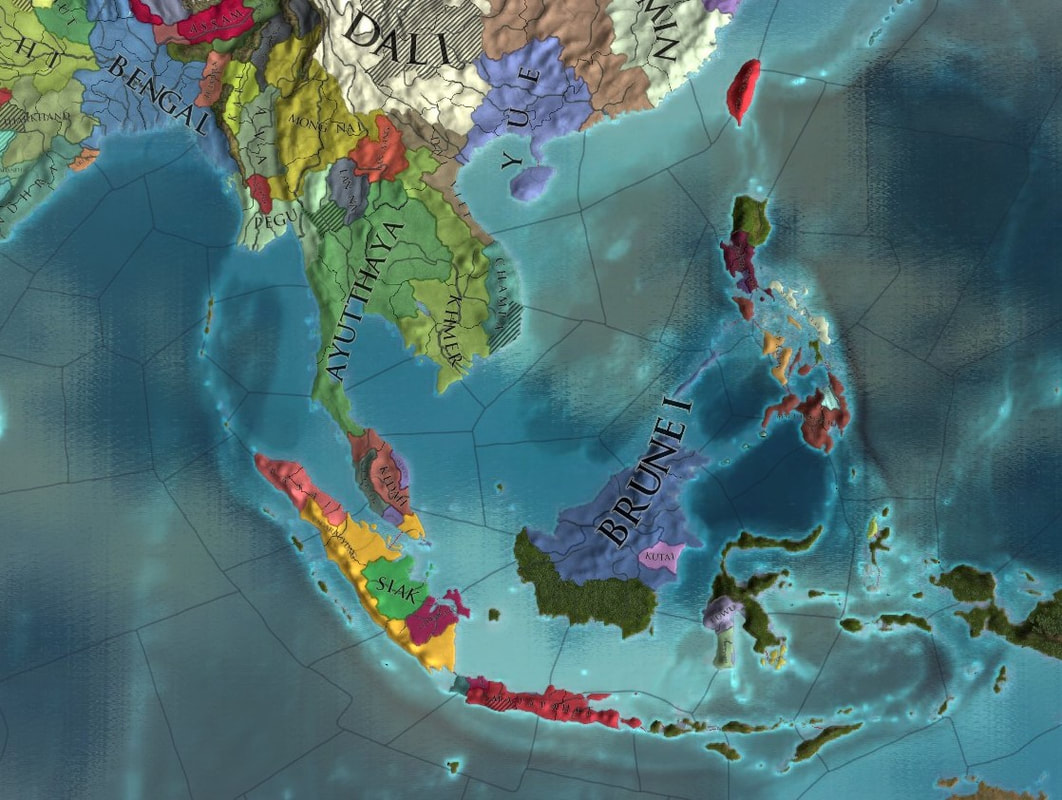
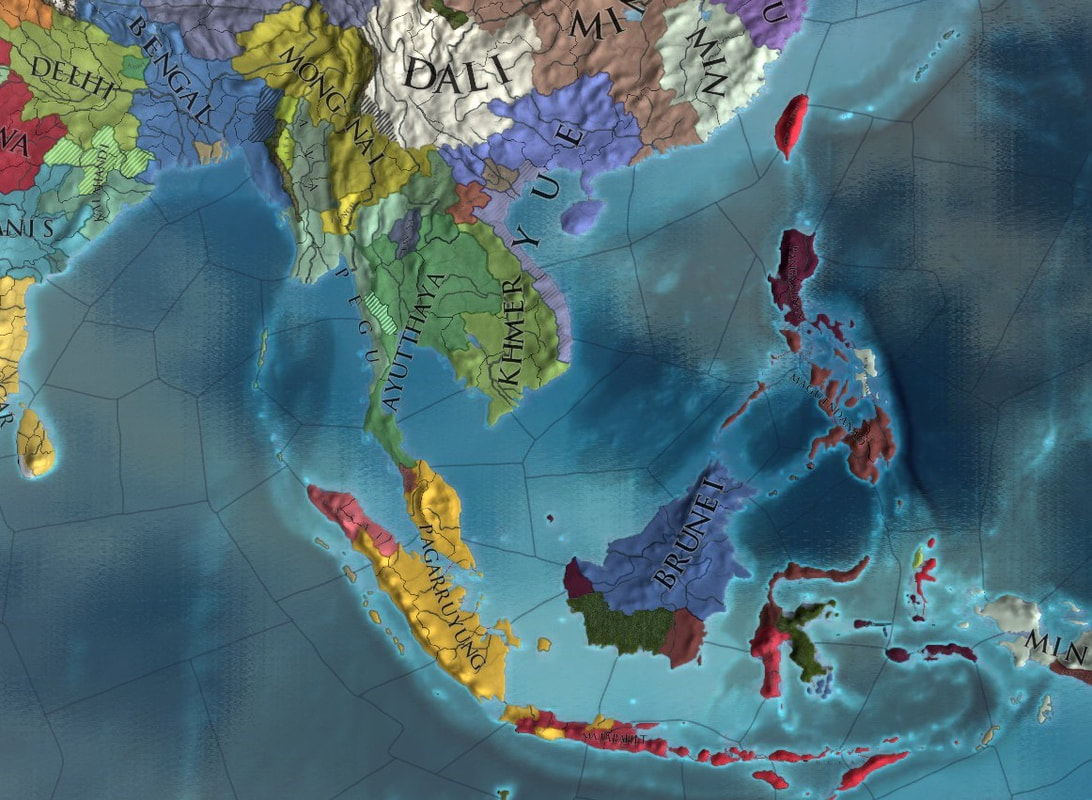
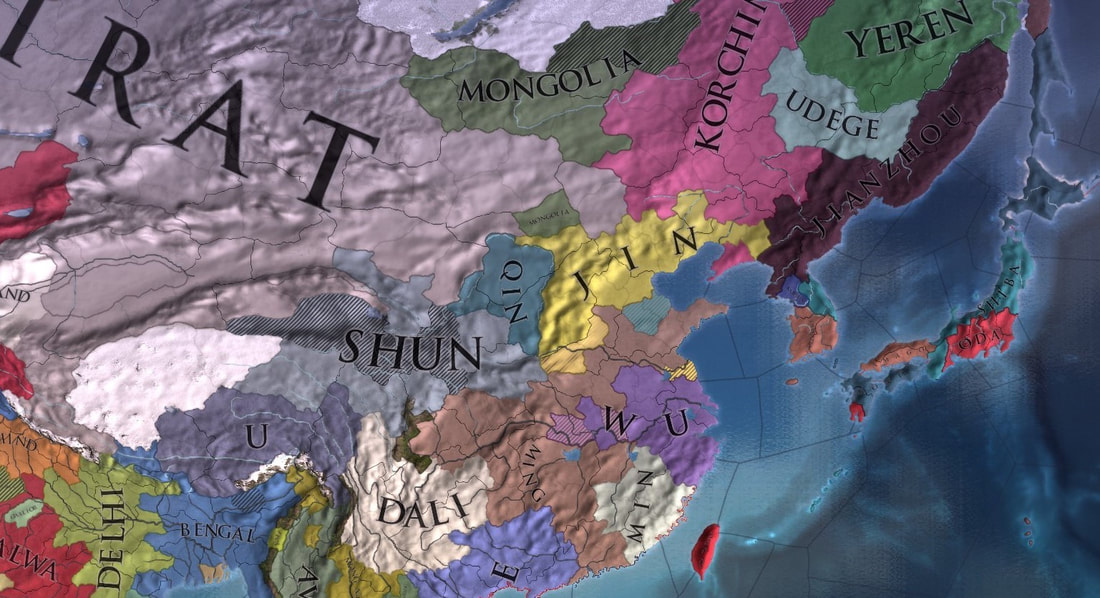
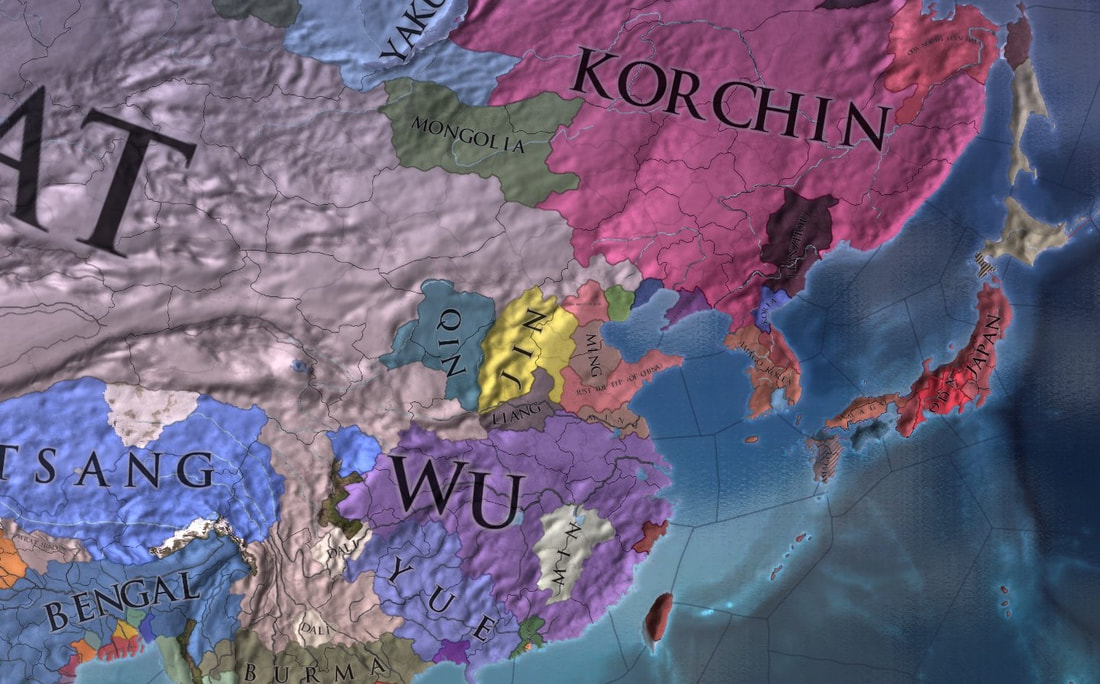
- Is located in one of the Far East Trade Nodes detailed on the map below.
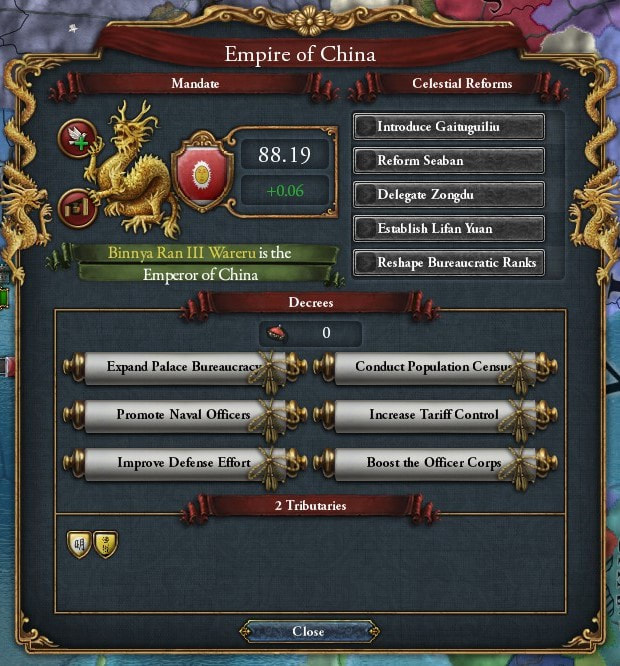
The Mandate - All players (note that only Eastern religions can become the Emperor of China)
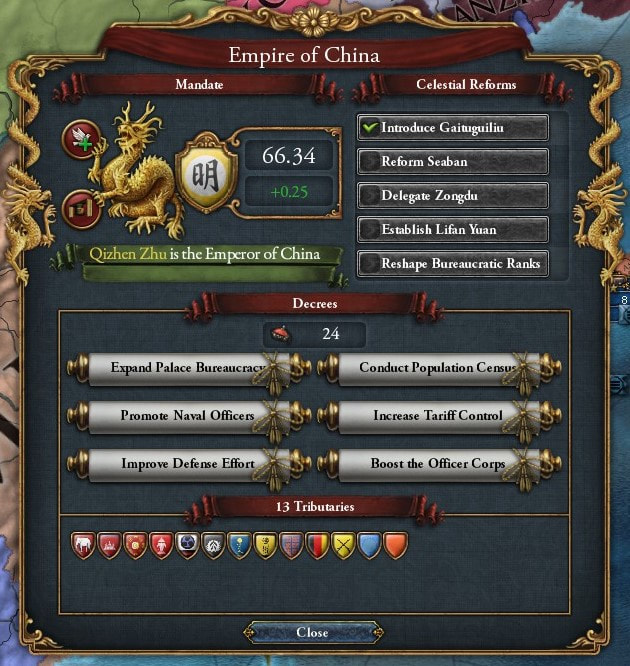
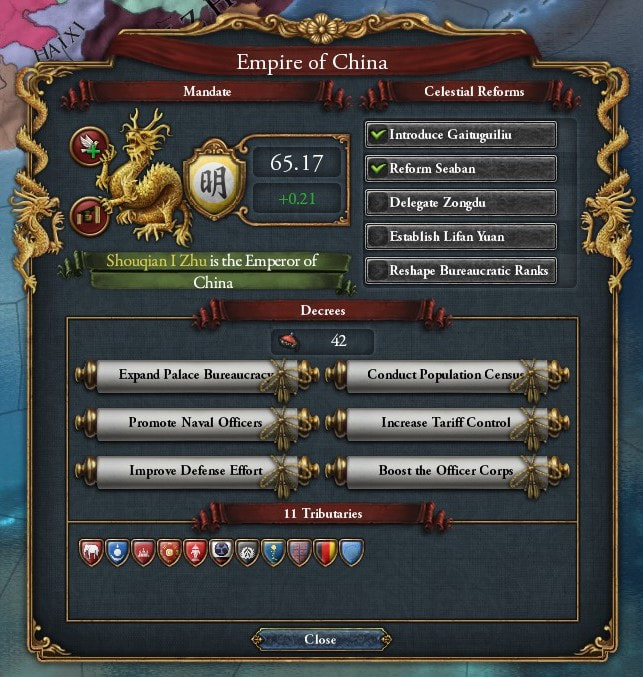
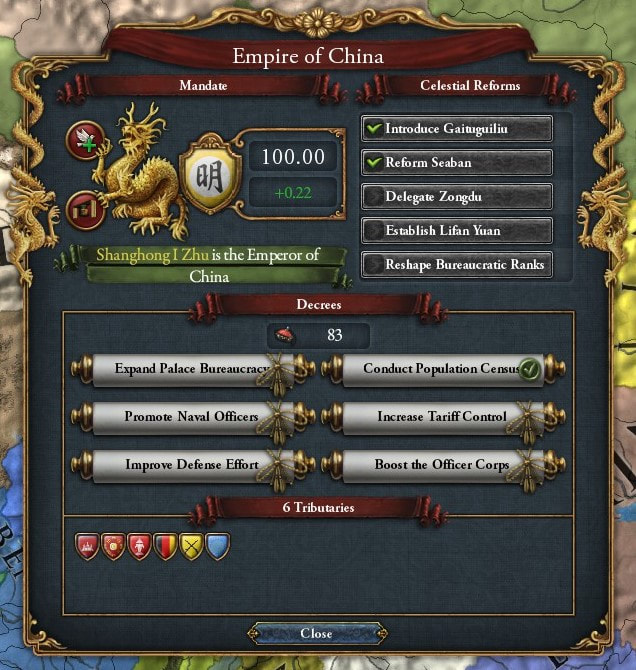
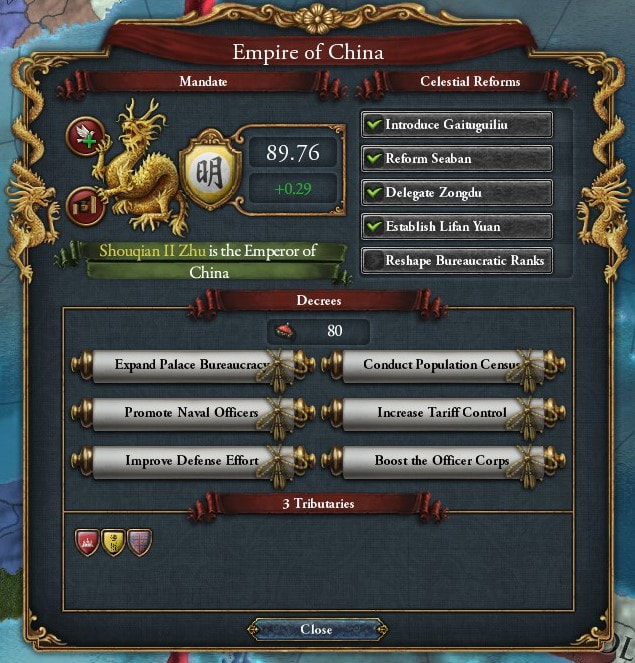
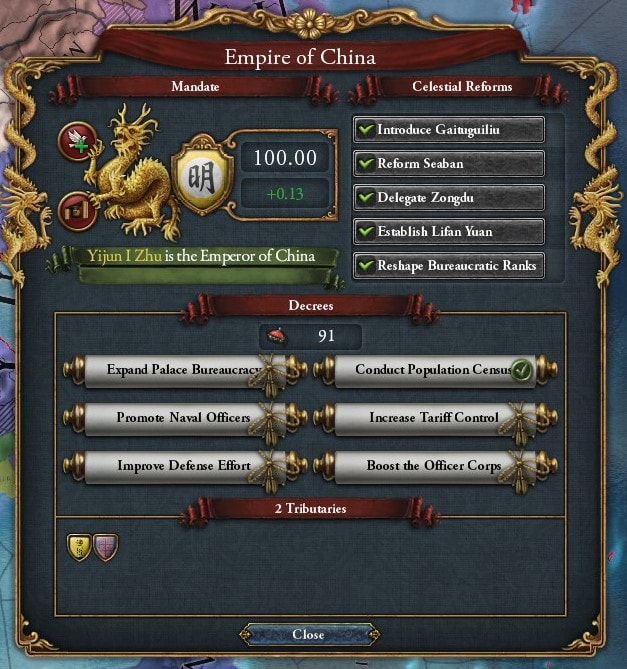
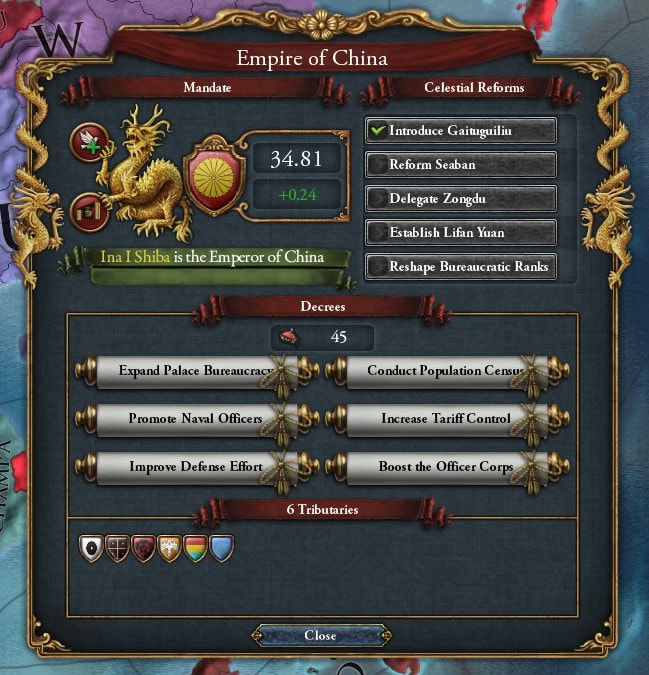
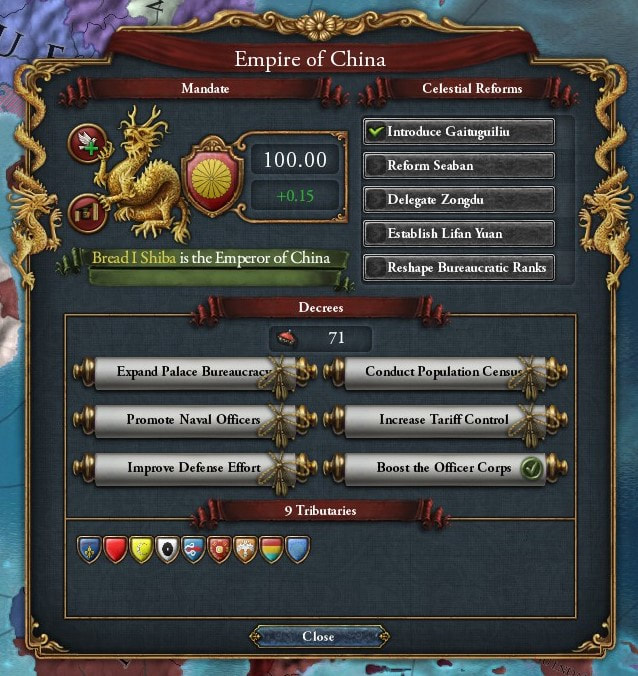
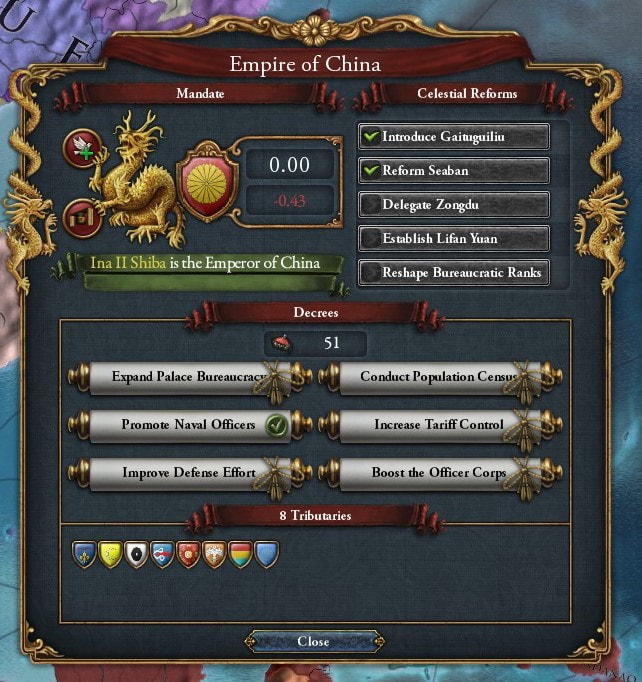
A player who is the Emperor of China will gain 200 points for every reform currently passed at a scoring date. More importantly, each reform passed will subtract 100 points from the value of every Scoring Province not owned by the Emperor's cultural group (making scoring objectives worthless if all reforms are passed).
Having the Mandate held by your Cultural Group makes sure that your own points are safe from being nullified and gives your group the opportunity to catch up with other groups by nullifying all of their objectives. However, if your biggest competition is currently within your own group, only the player who holds the Mandate will truly be profiting, and it might be better to see another group hold it than your rival. Either way, all cultural groups should work together against a group that both has the highest scores and holds the Mandate as well.
Due to the importance of Beijing as a Scoring Objective and a focus of the Mandate, the protected area of the Ming player will be the Area of North Jiangsu instead of North Hebei.
Dynastic Prestige - Great Dynasties only
Any player of the Great Dynasties group cannot have their points stolen by an Overlord if their prestige is higher than their Overlord's.
The Great Dynasties have the easiest access to Scoring Objectives, and will even start with many already held. However, any Emperor of China will surely seek them out as Tributaries or Vassals. The Great Dynasties can hold onto their points and deny them from any Overlord if they can maintain exemplary Prestige.
Tribal Unification and Chinese Rebellions - Northern Barbarians and Great Dynasties
On January 1 of years 1460, 1470, 1480, and 1490, the player in the Northern Barbarian group with the lowest Prestige will be eliminated and emerge as a rebellious Great Dynasty. All Northern Barbarians who were not eliminated will immediately gain 500 points. The first rebellious Dynasty will choose any Area held (or partly held) by Ming to become their new Protected Area and its highest development province will be their new capital. An area containing a Scoring Objective or the Ming capital cannot be chosen as their new protected area, and neither can Ming's Protected Area. This player will now be part of the Great Dynasties group instead of the Northern Barbarians. Subsequent rebellions will get to choose one more area than the last rebellion as long as all areas chosen are connected to at least one other chosen area. These additional choices are allowed to contain Scoring Objectives, but cannot contain the Ming capital or Protected Area. This means that after all 4 rebellions take place, 10 Areas will be stolen from Ming to create the new rebellious Dynasties. For each rebellion, the game will pause and rehost at this point to create the new player's nation. The player can choose any of the tags within the chosen area(s) as his new Dynasty.
A Khan deathmatch will determine who is fit to lead the warrior hordes during the Age of Discovery. The four Khans who emerge victorious will net a bonus to their score and gain extra space for their own horde's expansion at the expense of their former neighbors. Those who move on to rebel against the Emperor of China will still take a modest score bonus with them and lead a stronger rebellion based on how well they led their tribe.
Steppe Subjugation - Northern Barbarians only
All players of the Northern Barbarians group may steal the points from Scoring Provinces and any player's completed Victory Cards. To steal these points, the Northern Barbarians player must occupy the Scoring Province (owned by either a player or AI), or a single province of a victory card (completely owned by its corresponding player), and must have an army with at least one non-mercenary unit stationed in the occupied province on the scoring date.
A carry over from Pirates of past campaigns. The Northern Barbarians may steal what they are unable to own. Northern Barbarian players, especially those without many Scoring Objectives to defend or Tributaries to subdue, should make sure to plan raids against the most vulnerable Scoring Objectives and Victory Cards of other players. They can raid each other, or work together to make sure other Culture Groups are unable to defend all their points.
Trade Control - Southern Barbarians only
Any player in the Southern Barbarian group who has the largest percentage of trade power in a Trade Node at the time of scoring will steal half the points from all Scoring Objectives in that Trade Node owned by any other player or AI. Trade power percentage through pirating in a node can be added to a nation's standard trade power. Steppe Subjugation takes precedence and points that are stolen through Steppe Subjugation cannot be stolen by Trade Control.
Similar to pirating, once the Southern Barbarians gain their footing, they can wriggle away other players' points, including each others, by dominating their Trade Nodes. While a huge fleet of trade ships might be able to accomplish this, especially against players who pay no attention to their trade power, a surprising trade war can easily destroy another players trade fleet, either to pave the way for Trade Control or to defend against it. Just make sure to act proactively, as it will be too late when the Age ends. Of course, owning land in a Trade Node is also a reliable method for Trade Control.
Shogunate - Eastern Barbarians only
Instead of stealing half his subject's points, any Daimyo player that holds the Shogunate will steal 1/5 of the points from every objective held by any subject (including Daimyo and tributaries) for each level of the Shogunate's Isolationism, meaning the Shogunate Steals 100 points at Open Doors and 500 points at Closed Doors. However, the existence of any Daimyo that is not a vassal or march of the Shogunate (including AI) will reduce the value of objectives held by the Shogunate iteself by 100 points for each such Daimyo. The rules for the Shogunate also apply to any player that forms Japan. An AI Shogunate steals these points in the same way from all its subjects, and these points are simply lost. When the value of objectives are reduced by a foreign Emperor of China's reforms, the points that would be stolen by the Shogun are lost first, meaning that a Shogun must have more levels of Isolationism than the Chinese Emperor has levels or reform in order to gain points from his Daimyo.
The Japanese will certainly become competitive earliest if they can find a strong Shogun and work together to expand Japanese influence outside of Japan, but a good leader deserves tribute. The Japanese Shogun has some limited control over the Isolationism of Japan and must decide how liberal to be with his Daimyo. Failing to deliver rewards to faithful Daimyo is risky, but so is allowing the Daimyo to become more powerful than the Shogunate. Open the doors when things are going well. Close the doors and consolidate when they are not.
Rewards
- $20 worth of Paradox DLC
- Prestige and Titles!
The Great Dynasties - "Shield of the Middle Kingdom"
The Northern Barbarians - "Khagan"
The Eastern Barbarians - "Sword of the Chrysanthemum Throne"
The Southern Barbarians - "Sealord"
- Nation selection in a future campaign will go in order of tier participation, followed by final score ranking in this campaign, except players who received prizes will pick last (in order of final score). In effect, this will mean all players from tier 1, except the tier's winner, will pick first in order of score, followed by all players from tier 2, except the tier's winner, in order of score, etc...
Other Campaign Rules
1. Diplomacy Campaign Rules - Rules to frustrate our most successful players
- Players who are Great Powers may not have any alliances, and must break all alliances immediately upon becoming a Great Power. They may utilize Guarantee, Enforce Peace, Intervene in War, and all other diplomatic options as normal.
2. The 30% Treaty Rule - To encourage riskier and shorter wars
In order to encourage more frequent, shorter wars that do not devolve into world-spanning conflicts, we will be using the 30% Rule in this campaign. At any point in a war that the primary aggressor/defender has 30% or more war-score, they may send a peace treaty demanding a white peace or the annexation of one province that they occupy, that is owned by the primary defender/aggressor, and that they share a border with by land or sea, and this peace treaty cannot be refused. To be unrefusable, the treaty must contain no other conditions except a white peace or the annexation of the single province and the province must not be a nation's capital. The sending player may pause the game for this treaty, so that the war-score will not change and the rule can be enforced. For this rule, provinces owned or occupied by non-tributary subjects count as being owned or occupied by their overlord.
3. Home Area Protection - Protection rules to maintain a minimal power base of every player.
Players may not ever annex any province in the area of another player's starting capital. Players may directly cause the annexation of any of the provinces owned by another player in the area of that player's starting capital in any treaty they control, nor can they return a province or cause the release of a nation that would release a province from a player's capital area in any treaty they control. Players may vassalize or otherwise subjugate a player or other nation in a Home Area, but may not diplomatically annex the player or other AI nation that is part of a player's Home Area. A player's protected area will never change and does not move if a player moves his capital by choice, national decision, or switching to a subject nation. Should a player change nations or fail to return to the game, the starting area of the player's abandoned nation will remain protected in this way and will never be available for annexation. If this rule is accidentally violated, the province must be given back to its rightful owner at no cost as soon as possible. If it is purposely violated, the offending player will be kicked.
4. Endless Player Restart - Protection rules to maintain a minimal power base of every player.
If a player is eliminated by the AI, his starting capital, and all provinces in his capital's area that still have cores of his nation, will be released at the start of the next session as a vassal of the nation that now owns his starting capital province.
5. One-Time Absence Protection - Protection rules to maintain a minimal power base of every player.
During a missed session, a player may invoke protection for their nation one time. Other players may not attack a protected nation, and may not demand any peace terms from their nation if they find themselves at war by other means. Otherwise absent players' nations are not protected in missed sessions and players cannot take advantage of protection after the year 1750 regardless. If a war continues into a player's protected session, his enemies may not demand the ceding/release of land they did not occupy at the start of the protected session, or release nations that do not entirely exist within land they occupied at the start of the protected session, but other treaty terms that have no direct effect on province ownership are allowed in this situation. This protection is ignored in any wars initiated by the protected nation that target another player, so players are responsible for ensuring their nation is passive during their absence in their AI settings. Please inform one of the game hosts anytime before the start of a session if you will be absent and would like to use your protection. Protection may be used if arriving late but not for departing early.
6. Switching to a Subject Nation
A player may use the vassal release mechanic or colonial nation release mechanic to switch to playing another nation. Protected Areas in the campaign will not be changed.
7. Nation Selection
Selection Order - Nation selection in this campaign will draw from the final rankings of the Third Rome campaign (using the previous rewards description). Excluding the winners of each tier (who will be selecting last), all players returning from the Third Rome campaign will be able to to select nations in order of their final ranking descending from top score to lowest score, followed by any new players in a randomly determined order, followed by the winners of each tier in order of final ranking. A player who has played in earlier campaigns but did not participate in Third Rome will be allowed to use the final ranking of their latest campaign to determine their selection placement, and will be placed directly behind the player of equivalent ranking from Third Rome. Any players who missed more than 50% of sessions in their last campaign will not pick according to score and will be placed at the end of the selection order in a random ranking determined by d100. A roll of 80 or higher will also place them before the 'winners' group', just to make things a bit less predictable.
Tiers - Please remember to choose a tier that reflects the challenge and intensity that you wish to experience. While you will interact and compete for the same resources with all other players, your score will only be compared to players from within your own tier. Tier 1 is rewarded with first choice from the (undisclosed) prize pool (winner only) and earliest choices in nation selection in the next campaign (according to the latest "rewards" update seen below), and is intended for players seeking difficult starts, intense diplomacy and intrigue, and experienced competition. Tier 4 is intended for players seeking more secure starts, more room to learn, more leniency for absences, and a fair amount of cooperation alongside their competition, but will have later placement for the next nation selection and its winner gets last selection from the prize pool. With four tiers, it is hoped that each player will be given some chance to customize their game experience.
Imbalance - Obviously, even within tiers, the nation choices are imbalanced in strength, making earlier selection positions very valuable for grabbing the "best" nations in any one tier. The choices available have been selected to allow each player good opportunities to use diplomacy and intrigue to compensate for any lacking in raw military or economic might. Any viewing of the previous campaign final rankings should be sufficient evidence to support the fact that starting nation strength does not predict final ranking.
Secret Nations - Once any tier has had all nations claimed, one or more additional secret nations will become available for that tier, with possibly drastic changes to that tier's balance of power. Yes, this means that these secret nations will be impossible to pick by those with the earliest picks. These new nations could be of major or insignificant power, may not appear at all if a tier is left unfinished, and will likely be great sources of hope and disappointment for those stuck with the last picks. The campaign designer(s) is not permitted to select one of these secret nations if any other choice is available.
8. Discord War Camps - Public channels for private coordination
Please do not enter occupied War Camp channels unless invited by an occupant. These channels are available for both plotting in peacetime and coordination during wartime. Refusing to respect War Camp privacy will lead to being kicked from the Discord.
9. Shared Bloodlines - Mentoring
In order to mitigate the steep learning curve of EU4 for new players and to prevent the worst forms of manipulation, it is helpful to have at least one player that any newer player can know is a trustworthy source of advice. Towards that end, two players may agree to play in a Shared Bloodlines format in this campaign, conferring the below unique mechanics:
- Both players will choose their nation together, at the earliest selection position of the two players.
- The players must choose two nations in different Tiers. The player in the higher tier will be considered the "Mentor".
- The Mentor's nation selection must own 10 provinces or less and the Mentor may never exceed ownership of more than 10 provinces throughout the course of the campaign. Ownership for this purpose will include all Personal Unions, due to their inheritance mechanics, but excludes Vassals, Colonial Nations, and provinces assigned to a Trade Company. Willful violation of this rule will cause the independent release of all foreign cores within the Mentor's nation and all subjects at the end of the session. Violation of this rule outside of the Mentor's control must be immediately rectified by province release in-game.
- All score from Victory Cards and the specific provinces designated as Age Objectives will be combined from both players and split evenly between them. Other objectives will not be split due to possible improportionalities between Tier scoring systems.
- Any victory cards from either nation that fall on land that would penalize their partner will be rerolled.
MoDs
Gametactica Campaign Mod
Increased Diplomat Reliance:
- Alliances require a mutual 75+ opinion to create and maintain. This means your diplomats will be more vital to alliances, and actions such as guaranteeing independence and enforcing peace will be more useful as unilateral actions.
Decreased ability to rapidly expand:
- Higher war-score costs for annexations. This means discounts from casus belli will be important to your goals.
- Higher Aggressive Expansion, Over-Expansion, and Increased rebellion strength. This means expanding quickly is far more risky and supporting rebels is far more effective.
Idea Group changes:
- Increased significance of non-military Idea Groups
The nations available are listed below, in order of most desirable starting conditions within each grouping.
|
Cultural Groups
(No tiers) The Great Dynasties
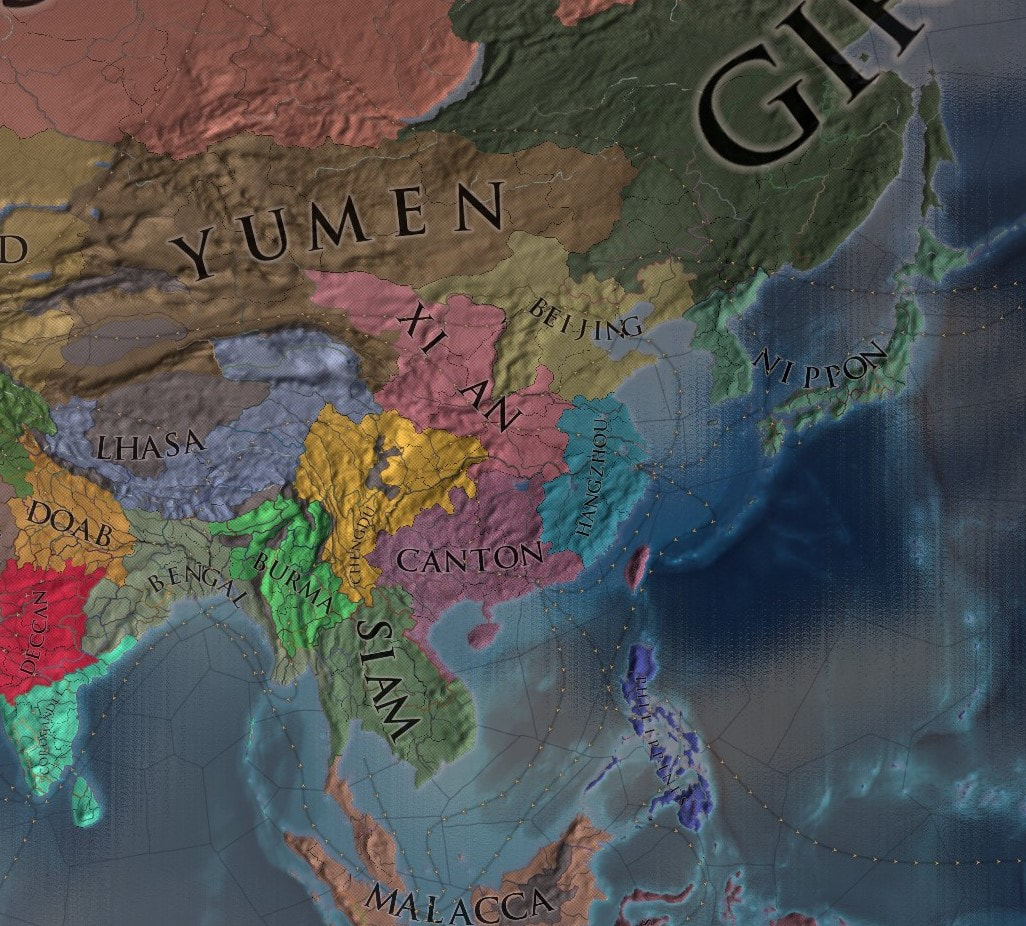
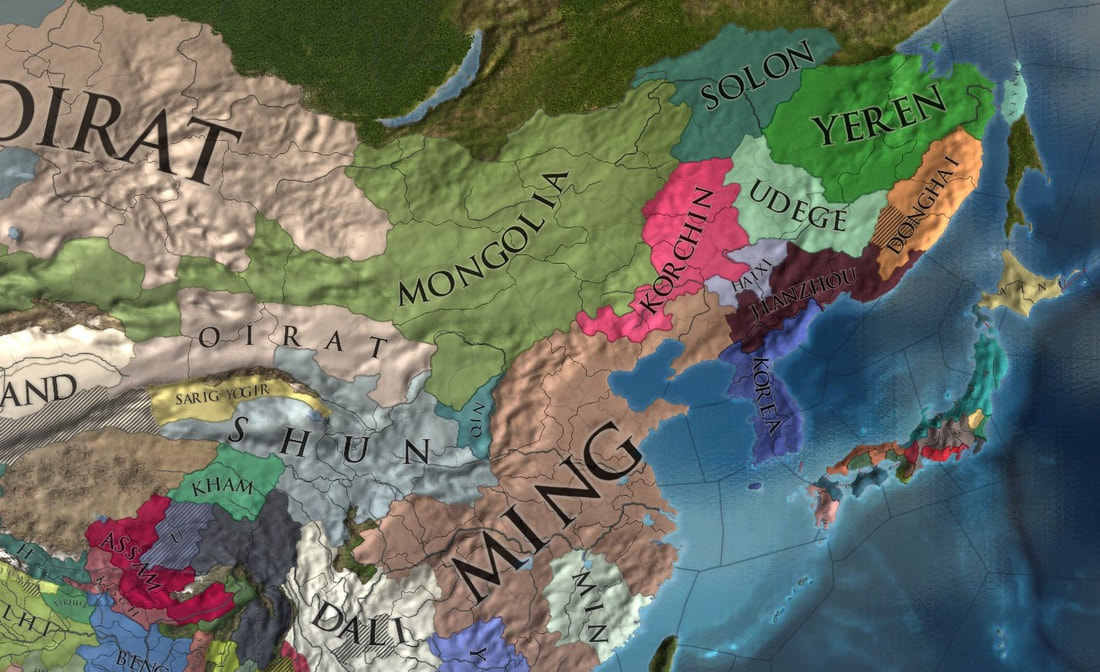
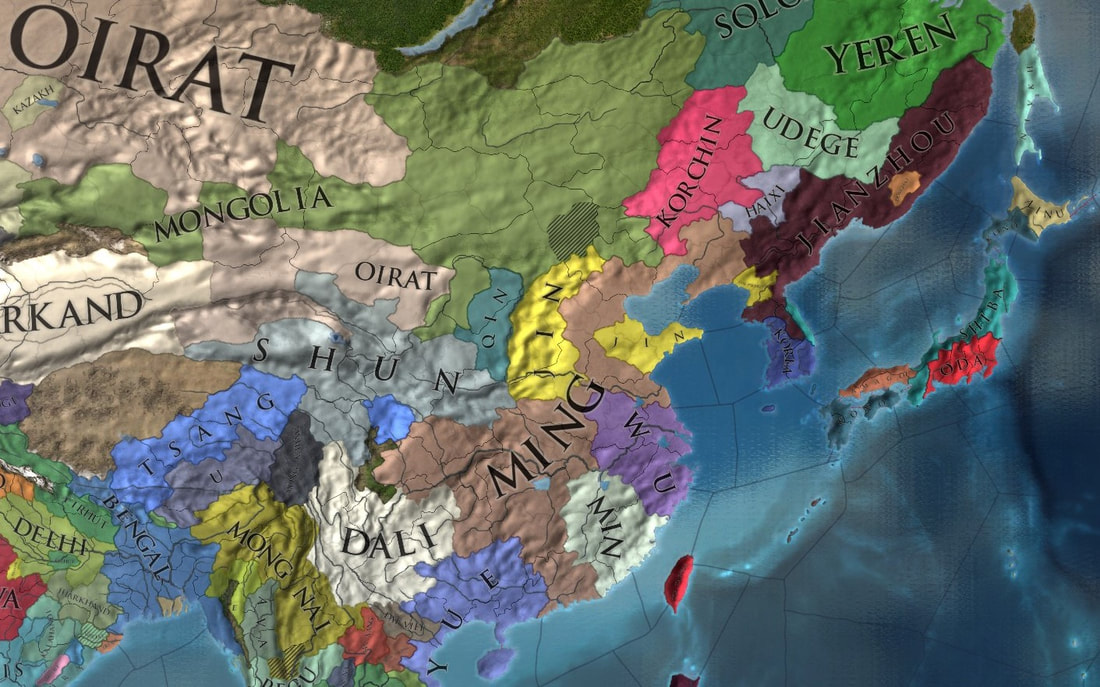
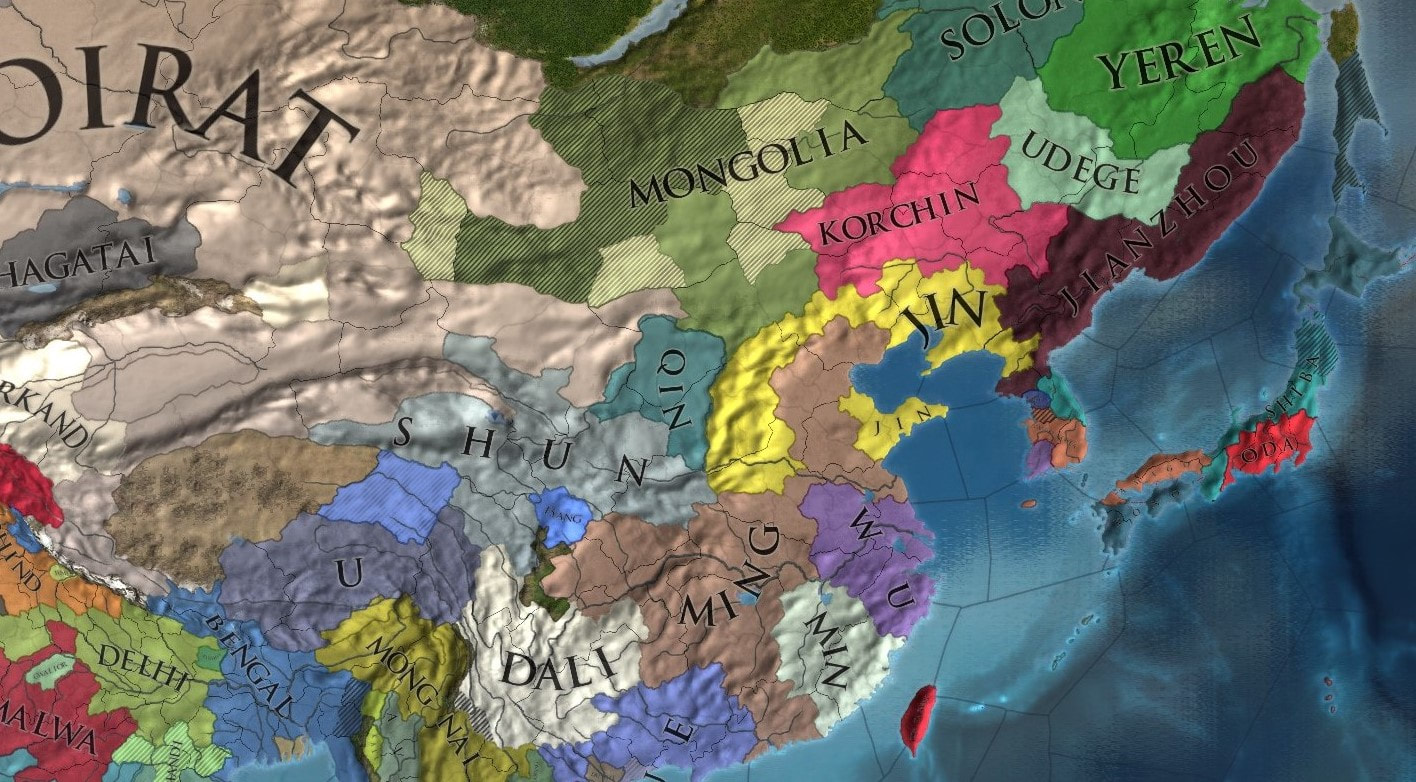
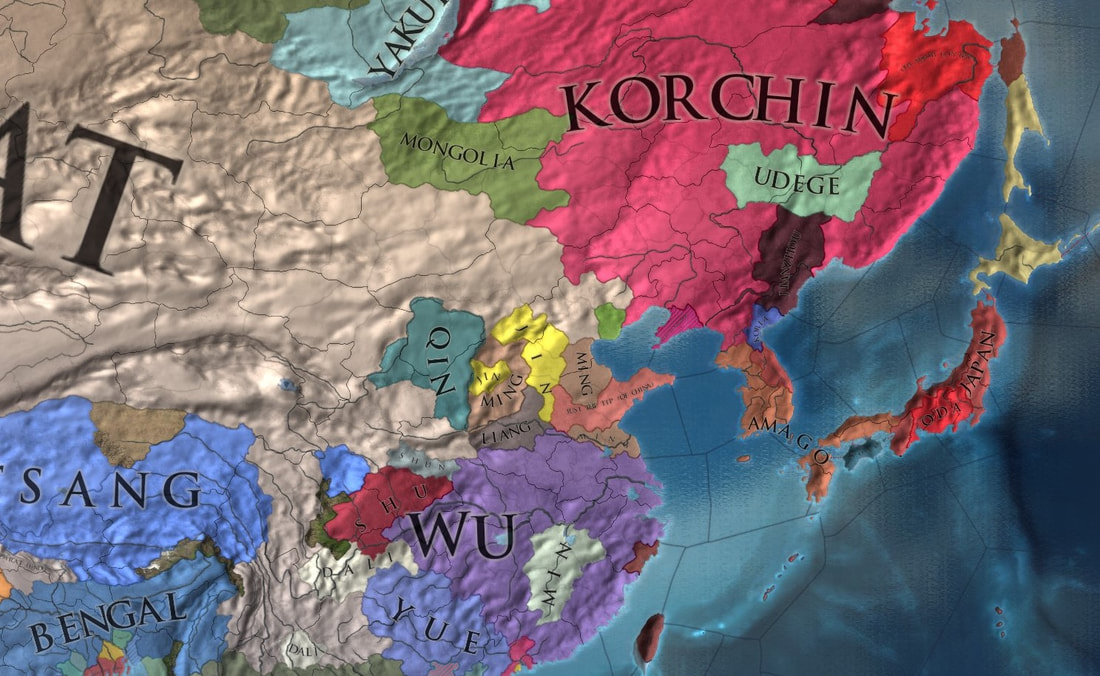
Ming - Brad The Northern Barbarians
Mongolia - Jack Jianzhou - William Korchin - Brian T Donghai - iNomad Udege - Pixel Yeren - Parafrost Oirat - Blake Haixi - Wyatt T The Eastern Barbarians
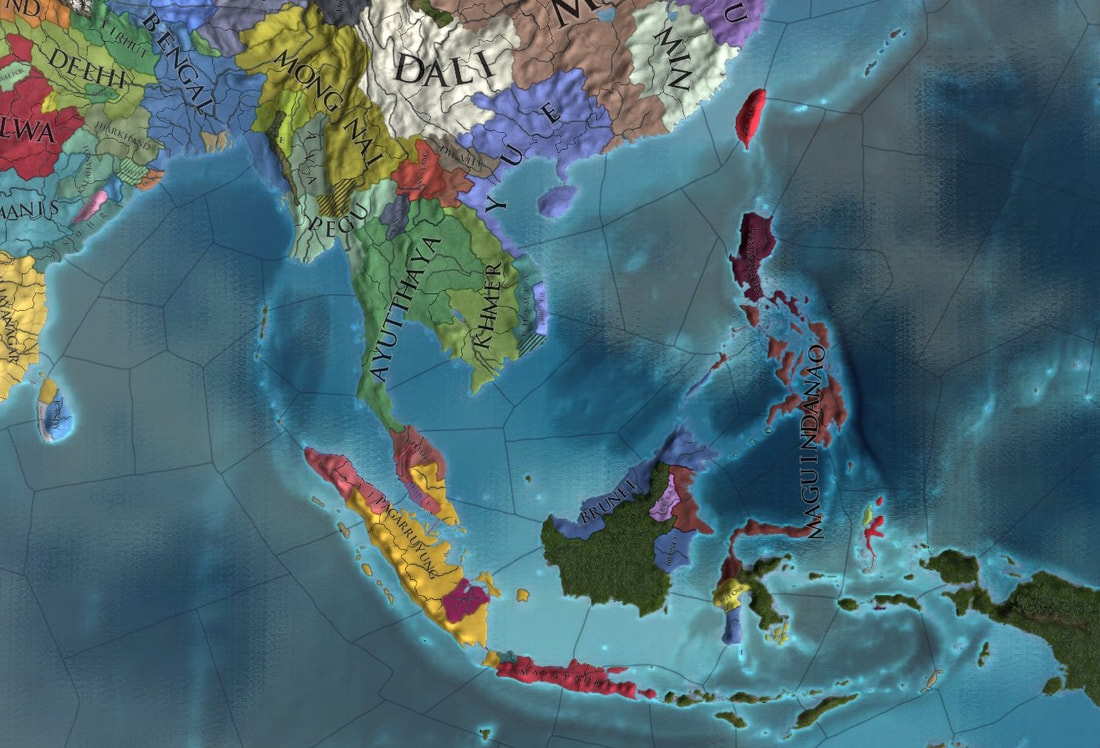
Shiba - Wyatt L Oda - Weston Amago - Josh Kono - Grant The Southern Barbarians
Maguindanao - Braxton Pagarruyung - Brian S Pangasinan - Jordan Pegu - Alec |
the Great dynasties
The Empire of the Ming - Emperor Qizhen Zhu
- Starting Development: 1102
- Provinces: 111
- Fort Level: 25
- Begins with Tributary States: Ayutthaya, Champa, Dai Viet, Khmer, Korea, Lan Xang, Malacca, Ryukyu, Haixi, Jianzhou, Kara Del, Sarig Yogir, Mong Mao, Pangasinan, Tondo
- Starting Development: 1102
- Provinces: 111
- Fort Level: 25
- Begins with Tributary States: Ayutthaya, Champa, Dai Viet, Khmer, Korea, Lan Xang, Malacca, Ryukyu, Haixi, Jianzhou, Kara Del, Sarig Yogir, Mong Mao, Pangasinan, Tondo
the northern barbarians
The Horde of Mongolia - Jinong Tayisung Borjigin
- Starting Development: 22
- Provinces: 6
- Fort Level: 1
The Khanate of Jianzhou - Khan Cungsan Aisin Gioro
- Starting Development: 75
- Provinces: 7
- Fort Level: 3
- Begins as a Tributary under the Ming
The Khanate of the Korchin - Khan Unebolad Khorchin
- Starting Development: 62
- Provinces: 11
- Fort Level: 1
The Khanate of Donghai - Khan Nisiha Warka
- Starting Development: 43
- Provinces: 7
- Fort Level: 1
The Khanate of the Udege - Khan Bahabu Udege
- Starting Development: 42
- Provinces: 6
- Fort Level: 1
The Khanate of the Yeren - Khan Buyan Ula
- Starting Development: 22
- Provinces: 6
- Fort Level: 1
The Khanate of the Oirat - Khan Esen Choros
- Starting Development: 117
- Provinces: 28
- Fort Level: 1
- Vassals: Mongolia
The Khanate of Haixi - Khan Singgen Darha Yehe Nara
- Starting Development: 47
- Provinces: 5
- Fort Level: 3
- Begins as a Tributary under the Ming
- Starting Development: 22
- Provinces: 6
- Fort Level: 1
The Khanate of Jianzhou - Khan Cungsan Aisin Gioro
- Starting Development: 75
- Provinces: 7
- Fort Level: 3
- Begins as a Tributary under the Ming
The Khanate of the Korchin - Khan Unebolad Khorchin
- Starting Development: 62
- Provinces: 11
- Fort Level: 1
The Khanate of Donghai - Khan Nisiha Warka
- Starting Development: 43
- Provinces: 7
- Fort Level: 1
The Khanate of the Udege - Khan Bahabu Udege
- Starting Development: 42
- Provinces: 6
- Fort Level: 1
The Khanate of the Yeren - Khan Buyan Ula
- Starting Development: 22
- Provinces: 6
- Fort Level: 1
The Khanate of the Oirat - Khan Esen Choros
- Starting Development: 117
- Provinces: 28
- Fort Level: 1
- Vassals: Mongolia
The Khanate of Haixi - Khan Singgen Darha Yehe Nara
- Starting Development: 47
- Provinces: 5
- Fort Level: 3
- Begins as a Tributary under the Ming
the eastern barbarians
The Daimyo of the Shiba - Lord Yoshitake Shiba
- Starting Development: 16
- Provinces: 2
- Fort Level: 1
- Begins as a Daimyo under the Ashikaga Shogunate
The Daimyo of the Oda - Lord Hisanaga Oda
- Starting Development: 10
- Provinces: 1
- Fort Level: 1
- Begins as a Daimyo under the Ashikaga Shogunate
The Daimyo of the Amago - Lord Kiyosada Amago
- Starting Development: 8
- Provinces: 1
- Fort Level: 3
- Begins as a Daimyo under the Ashikaga Shogunate
The Daimyo of the Kono - Lord Norimichi Kono
- Starting Development: 7
- Provinces: 1
- Fort Level: 1
- Begins as a Daimyo under the Ashikaga Shogunate
the southern barbarians
The Kingdom of Maguindanao - King Maraja Maguindanao
- Starting Development: 21
- Provinces: 2
- Fort Level: 1
The Kingdom of Pagarruyung - King Inayat Mauli
- Starting Development: 21
- Provinces: 3
- Fort Level: 1
The Grand Barangay of Pangasinan - Wang Liyu Caboloan
- Starting Development: 6
- Provinces: 1
- Fort Level: 1
- Begins as a Tributary under the Ming
The Kingdom of Pegu - King Binnya Ran Wareru
- Starting Development: 47
- Provinces: 5
- Fort Level: 3
- Starting Development: 21
- Provinces: 2
- Fort Level: 1
The Kingdom of Pagarruyung - King Inayat Mauli
- Starting Development: 21
- Provinces: 3
- Fort Level: 1
The Grand Barangay of Pangasinan - Wang Liyu Caboloan
- Starting Development: 6
- Provinces: 1
- Fort Level: 1
- Begins as a Tributary under the Ming
The Kingdom of Pegu - King Binnya Ran Wareru
- Starting Development: 47
- Provinces: 5
- Fort Level: 3
session 1
1444-1473
|
Emperor of China: Ming
Reforms passed: 1 The Great Dynasties Empire of the Ming Princedom of the Min Princedom of the Yue The Northern Barbarians Horde of Mongolia Khanate of Jianzhou Khanate of the Korchin Khanate of the Yeren Khanate of the Oirat Khanate of Haixi The Eastern Barbarians Shogunate of the Shiba Daimyo of the Oda Daimyo of the Amago Daimyo of the Kono The Southern Barbarians Kingdom of Maguindanao Kingdom of Pagarruyung Grand Barangay of Pangasinan Kingdom of Pegu |
Victory Points (Potential)
(Parenthesis are obj points currently held with subject status taken into account. Points lost through reforms are not accounted for.) Discovery 0 (+6000) 500 (+250) 0 1000 1000 (+250) 1000 1000 1000 (+1000) 1000 0 0 0 (+300) 0 (+300) 0 0 0 0 |
Victory Cards
(None yet) |
session 2
1473-1497
|
Emperor of China: Ming
Reforms passed: 2 The Great Dynasties Empire of the Ming Princedom of the Wu Princedom of the Jin Princedom of the Min Princedom of the Yue The Northern Barbarians Horde of Mongolia Khanate of Jianzhou Khanate of the Korchin Khanate of the Oirat The Eastern Barbarians Daimyo of the Shiba Daimyo of the Oda Daimyo of the Amago Daimyo of the Kono The Southern Barbarians Confederacy of Maguindanao Kingdom of Pagarruyung Grand Barangay of Pangasinan Kingdom of Pegu |
Victory Points (Potential)
(Parenthesis are obj points currently held with subject status taken into account. Points lost/gained through reforms are not accounted for.) Discovery 0 (+5500) 1500 (+500) 1000 (+250) 500 (+250) 0 2000 2000 (+500) 2000 2000 (+1000) 0 (+400) 0 (+400) 0 (+400) 0 (+400) 0 0 0 0 |
Victory Cards
(None yet) |
session 3
1497-1539
|
Emperor of China: Ming
Reforms passed: 2 The Great Dynasties Empire of the Ming Princedom of the Wu Princedom of the Jin Princedom of the Min Princedom of the Yue The Northern Barbarians Khanate of the Oirat Khanate of Jianzhou Khanate of the Korchin Horde of Mongolia The Eastern Barbarians Daimyo of the Oda Daimyo of the Amago Daimyo of the Kono Shogunate of the Shiba The Southern Barbarians Confederacy of Maguindanao Kingdom of Pagarruyung Grand Barangay of Pangasinan Kingdom of Pegu |
Victory Points
Discovery 6050 2000 1250 750 0 2600 2300 2150 2000 300 300 300 0 0 0 0 0 |
Victory Cards
N. Kyushu (Kon) |
session 4
1539-1582
|
Emperor of China: Ming
Reforms passed: 4 The Great Dynasties Empire of the Ming Princedom of the Wu Princedom of the Jin Princedom of the Min Princedom of the Yue The Northern Barbarians Khanate of the Oirat Khanate of Jianzhou Khanate of the Korchin Horde of Mongolia The Eastern Barbarians Daimyo of the Oda Daimyo of the Amago Daimyo of the Kono Shogunate of the Shiba The Southern Barbarians Confederacy of Maguindanao Kingdom of Pagarruyung Grand Barangay of Pangasinan Kingdom of Pegu |
Victory Points
Discovery 6050 2000 1250 750 0 2600 2300 2150 2000 300 300 300 0 0 0 0 0 |
Reformation (11500) (1000) (500) (500) (500) (2000) (500) (500) (0) (600) (1800) (0) (2600) (0) (0) (0) (0) |
Victory Cards
E. Korea (Jia, Shi) , N. Kyushu (Kon, Ama) Tohoku (Shi), S. Kyushu (Kon, Mag) |
session 5
1582-1624
|
Emperor of China: Ming
Reforms passed: 5 The Great Dynasties Empire of the Ming Princedom of the Wu Princedom of the Jin Princedom of the Min Princedom of the Yue The Northern Barbarians Kingdom of the Oirat Kingdom of Jianzhou Kingdom of the Korchin Chiefdom of Mongolia The Eastern Barbarians Daimyo of the Oda Daimyo of the Amago Daimyo of the Kono Shogunate of the Shiba The Southern Barbarians Confederacy of Maguindanao Kingdom of Pagarruyung Grand Barangay of Pangasinan Kingdom of Pegu |
Victory Points
Discovery 6050 2000 1250 750 0 2600 2300 2150 2000 300 300 300 0 0 0 0 0 |
Reformation 11500 1500 500 500 750 0 0 0 0 0 0 0 0 0 0 0 2000 |
Victory Cards
E. Korea, N. Kyushu W. Korea, Shandong Nepal, I. Mongolia Tohoku, S. Kyushu C. Tenasserim, E. Java |
session 6
1624-1666
|
Emperor of China: Pegu
Reforms passed: 0 The Great Dynasties Kingdom of the Ming G. Republic of the Wu Princedom of the Jin Princedom of the Min Princedom of the Yue The Northern Barbarians Kingdom of the Oirat Kingdom of Jianzhou Kingdom of the Korchin Chiefdom of Mongolia The Eastern Barbarians Daimyo of the Oda Daimyo of the Amago Daimyo of the Kono Shogunate of the Shiba The Southern Barbarians Confederacy of Maguindanao Kingdom of Malaya Grand Barangay of Pangasinan Empire of Pegu |
Victory Points
Discovery 6050 2000 1250 750 0 2600 2300 2150 2000 300 300 300 0 0 0 0 0 |
Reformation 11500 1500 500 500 750 0 0 0 0 0 0 0 0 0 0 0 2000 |
Absolutism (1500) (7500) (1500) (0) (6000) (7500) (750) (1500) (0) (900) (2700) (900) (4200) (1500) (0) (0) (3750) |
Victory Cards
E. Korea, N. Kyushu Fujian, W. Korea, Shandong S. Henan, Shandong, S Jilan Hunan, Yun-Gui, Cambodia Hubei, Nepal, I. Mongolia Shandong, Uliastai, S. Hebei Sanyodo, Tohoku, S. Kyushu W. Chubu, N. Kyushu, E. Korea Khuzestan, Mogostan, Yun-Gui S. Luzon, W. Java, Taiwan Kalimantan, C. Tenasserim, E. Java |
session 7-8
1666-1746
|
Emperor of China: Japan
Reforms passed: 1 The Great Dynasties Kingdom of the Ming G. Republic of the Wu Princedom of the Jin Princedom of the Min Kingdom of the Yue The Northern Barbarians Empire of the Oirat Emirate of Songhai Kingdom of the Korchin Republic of Mongolia The Eastern Barbarians G. Daimyo of the Oda G. Daimyo of the Amago G. Republic of the Kono Empire of Japan The Southern Barbarians Confederacy of Maguindanao Kingdom of Malaya Grand Barangay of Pangasinan Kingdom of Pegu |
Victory Points
Discovery 6050 2000 1250 750 0 2600 2300 2150 2000 300 300 300 0 0 0 0 0 |
Reformation 11500 1500 500 500 750 0 0 0 0 0 0 0 0 0 0 0 2000 |
Absolutism 1000 2100 700 0 3750 10500 0 3000 0 1200 1800 600 12600 8250 3000 0 0 |
Victory Cards
S. Hubei, E. Korea, N. Kyushu Fujian, W. Korea, Shandong S. Henan, Shandong, S Jilan Hunan, Yun-Gui, Cambodia Hubei, Nepal, I. Mongolia Shandong, Uliastai, S. Hebei Sanyodo, Tohoku, S. Kyushu W. Chubu, N. Kyushu, E. Korea Sakhalin, N. Ilin Hala, Furdan Khuzestan, Mogostan, Yun-Gui S. Luzon, W. Java, Taiwan Kalimantan, C. Tenasserim, E. Java Visayas, Champa, S. Luzon C. Thailand, N. Laos, C. Burma |
session 9
1746-1790
|
Emperor of China: Japan
Reforms passed: 1 The Great Dynasties Kingdom of the Ming F. Republic of the Wu Princedom of the Jin Princedom of the Min G. Princedom of the Yue The Northern Barbarians Empire of the Oirat Emirate of Songhai Kingdom of the Korchin Republic of Mongolia The Eastern Barbarians G. Daimyo of the Oda G. Daimyo of the Amago F. Republic of the United States Empire of Japan The Southern Barbarians Confederacy of Maguindanao Kingdom of Malaya Grand Barangay of Pangasinan Kingdom of Pegu |
Points
Previous Ages 18550 5600 2450 1250 4500 13100 2300 5150 2000 1500 2100 900 12600 8250 3000 0 2000 |
Revolution (0) (15000) (-500) (-1500) (0) (29000) (0) (6000) (-2500) (500) (10000) (8000) (2000) (500) (3000) (0) (6000) |
Victory Cards
S. Jiangsu, S. Hubei, E. Korea, N. Kyushu Shaanxi, Fujian, W. Korea, Shandong Hubei, S. Henan, Shandong, S Jilan S. Anhui, Hunan, Yun-Gui, Cambodia Astrakhan, Hubei, Nepal, I. Mongolia W. Korea, Shandong, Uliastai, S. Hebei E. Kanto, Sanyodo, Tohoku, S. Kyushu Kinai, W. Chubu, N. Kyushu, E. Korea A. California, Athabasca, U. Missouri, Alberta N. Kyushu, Khuzestan, Mogostan, Yun-Gui Zhejiang, S. Luzon, W. Java, Taiwan S. Sulawesi, Kalimantan, C. Tenasserim, E. Java Taiwan, Visayas, Champa, S. Luzon E. Bengal, C. Thailand, N. Laos, C. Burma |
session 10
1790-1821
|
Emperor of China: Japan
Reforms passed: 2 The Great Dynasties Princedom of the Ming F. Republic of the Wu Princedom of the Jin Princedom of the Min G. Princedom of the Yue The Northern Barbarians Empire of the Oirat Emirate of Songhai Kingdom of the Korchin Republic of Mongolia The Eastern Barbarians G. Daimyo of the Oda G. Daimyo of the Amago F. Republic of the United States Empire of Japan The Southern Barbarians Confederacy of Maguindanao Kingdom of Malaya Grand Barangay of Pangasinan Kingdom of Pegu |
Points
Previous Ages 18550 5600 2450 1250 4500 13100 2300 5150 2000 1500 2100 900 12600 8250 3000 0 2000 |
Revolution -2000 9000 -500 -3000 0 16000 0 3000 -2500 -1500 5000 7000 3600 14300 3000 -1500 7800 |
Final 16550 14600 1950 0 4500 29100 2300 8150 0 0 7100 7900 16200 22550 6000 0 9800 |
Victory Cards
S. Jiangsu, S. Hubei, E. Korea, N. Kyushu Shaanxi, Fujian, W. Korea, Shandong Hubei, S. Henan, Shandong, S Jilan S. Anhui, Hunan, Yun-Gui, Cambodia Astrakhan, Hubei, Nepal, I. Mongolia W. Korea, Shandong, Uliastai, S. Hebei E. Kanto, Sanyodo, Tohoku, S. Kyushu Kinai, W. Chubu, N. Kyushu, E. Korea A. California, Athabasca, U. Missouri, Alberta N. Kyushu, Khuzestan, Mogostan, Yun-Gui Zhejiang, S. Luzon, W. Java, Taiwan S. Sulawesi, Kalimantan, C. Tenasserim, E. Java Taiwan, Visayas, Champa, S. Luzon E. Bengal, C. Thailand, N. Laos, C. Burma |
